I have a friend whose birthday was this past week. I wanted to so something special for her. I asked her what would she like me to bake and send to her. The only requirement was no real chocolate due to the heat and trying to place the items in the mail. She suggested three things that she has liked in the past: oatmeal crasin cookies, peanut & butter jelly bars, and snickerdoodle cookies.
I was excited about the options she listed, but I wanted her baked gift to truly be special.
So, I wanted to reinvent things I have made in the past, in a whole new way.
I made the following exchanges:
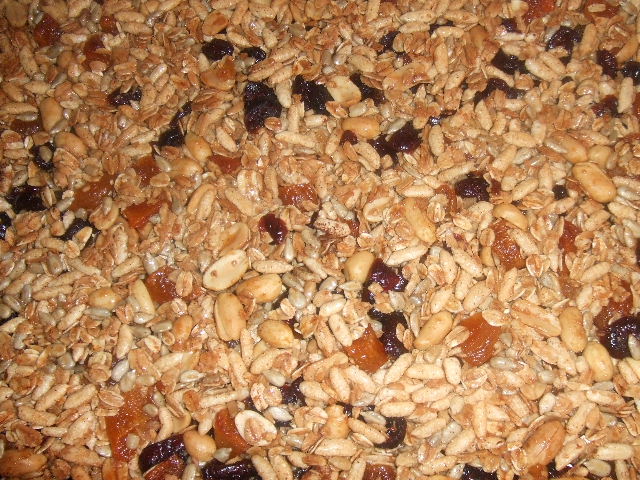
Oatmeal Craisin Cookies became Homemade Granola Bars with dried cranberries, dried apricots, candied ginger, sunflower seeds, peanuts, puff cereal, and oats.
Peanut Butter Jelly Bars become Homemade Peanut Butter with Strawberry Preserve Bars made with home ground peanut butter and a special blend of strawberry preserves and jelly.
Snickerdoodles became my super-duper special extra spiced Snickerdooles, flavored with cinnamon, all spice, and nutmeg.
Lastly, because chocolate is special I wanted a way to include it in a medium that would not melt. I made S’mores Brownies; imagine a s’more baked and layered inside of a brownie.
Overall, most of the things came out well. My least favorite was the granola bar and my most favorite was the s’mores brownies.
The granola recipe that I decided to use was for a chewy granola bars. I liked the recipe, upon reading it, and of course changed a few things. The biggest change I made was omitting peanut butter from the bar. I was already making something else with peanut butter and wanted to have a separate flavor profile in this bar.
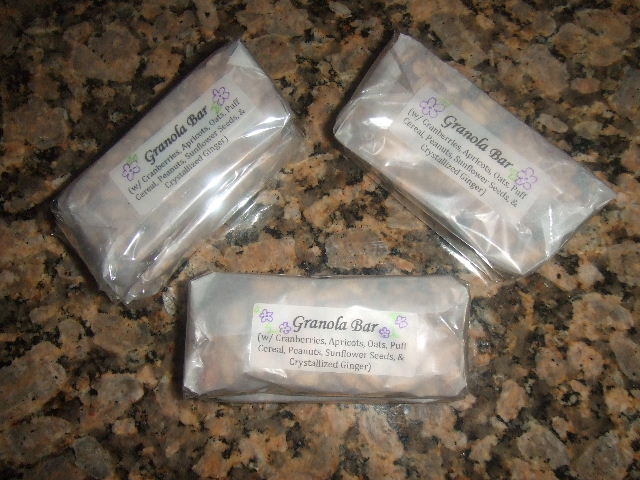
I added butter and upped the amount of corn syrup and honey, in addition to pressing the mixture really hard into a pan, trying to get the bars to remain together. They was not too successful and they crumbled when I tried to pick most of the cut bars up. I was able to get six to stick together and those were packed and sent to my dear friend Aye.
The peanut butter and jelly bars came out okay. I ground roasted peanuts with sea salt into a peanut butter and used that in the bars. I would never have imagined that home ground peanut butter taste different in baked goods than store bought peanut butter. I could immediately tell that the bars did not contain the usually processed peanut butter, in a good way.
I also used twice as much jelly as the recipe recommended. I wanted to ensure that the strawberry jelly/preserve flavor came trough. The bars were dense and rich. I cut them into smaller squares to create smaller portions, making the richness more manageable. All of those were packaged and mailed to Aye.
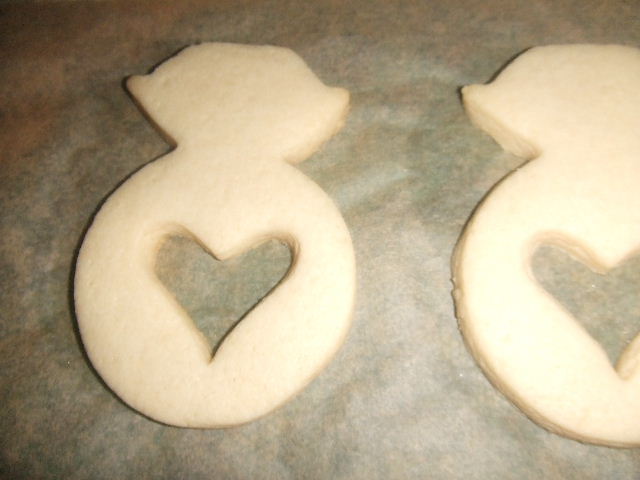
Next, were the snickerdoodle cookies. I loved the way these came out. It is hard to find a good ol’ traditional snickerdoodle cookie, but this one is it. I only used granulated sugar in the cookies as a sweetener and used cream of tartar and baking soda as the leavening agents.
To add a little twist on tradition, I added allspice and nutmeg to the spice & sugar coating. I like adding this little dash of enhanced flavor development. It is a familiar taste and gives your taste buds a little kick.
These were the only package that I did not label; I thought they were pretty self explanatory.
Lastly, the big daddy themselves, the S’MORES BROWNIES. These bad boys were dense, divine, and delicious. I have been seeing s’mores all over the internet the past few weeks (with the passing of National S’mores Day). It was only natural that I would want to jump on the s’mores bandwagon.
I created this recipe because brownies are an awesome medium to bake things into and I wanted a whole s’more in the brownie, not just a brownie inspired by s’mores, but a s’mores brownie.
I doubled the usual brownie recipe I use, but maintained the same size pan to ensure all the s’mores pieces were covered. I layered brownie batter between the s’mores layers to help them stick together. Because I was placing these in the mail and I did not want to lose any product by sticking to the plastic, I left additional marshmallows off the top. But, if you are at home, I would recommend through a few handfuls of mini marshmallows on top of the brownies when they are almost completely done baking and let them get all melt-y or turn on the broiler and let them get toasted.
Layer 1: Brownie Batter
Layer 2: Graham Cracker (then thin brownie batter layer)
Layer 4: Chocolate Bars
Layer 5: Marshmallows, I used the new flat style marshmallows
Layer 6: Pour and spread remaining brownie batter over the top of the dessert
Layer 7ish: Broken and crumbled up graham crackers to top the entire thing
(As an aside, I also made fruit leather for Aye. That did not come out so well. I put it in a pan too large and the leather got too thin. Therefore, it was more crunchy than leathery. So, those did not make it in a package to Aye because when I tried to cut them and roll them up, they shattered.)
So, I put all the above desserts in one big USPS flat rate box. I packed each type of dessert in smaller boxes inside the bigger box to prevent breaking and smushing in travel. The total weight of all of the above was 11 pounds, 11 pounds of sugary goodness!
When Aye received the gift, she called me mad, crazy, and insane, in a good way. I take that as a complement because I am frantic about my baking and how much I honestly want people to be pleased by what I bake for them. HAPPY BIRTHDAY AYE! (And I hope you shared your goodies with those special people around you because that is far too much sugar for just one person.)
RECIPES
Granola Bars
I modified this recipe to include 1 cup dried apricots, 1 cup dried cranberries, 1-2 TBS diced crystallized ginger, and a dash of cinnamon.
Peanut Butter Jelly Bars
Please visit Ina Garten’s recipe on the
Food Network Web-site.
The only modifications I made to her recipe was doubling the amount of jelly/preserves and I used strawberry flavored as opposed to raspberry.
Snickerdoodle Cookies
(Baker at Law recipe)
Ingredients:
1 cup butter
1 1/2 cup sugar
2 eggs (egg substitute)
1 tsp vanilla
2 3/4 cup flour
2 tsp cream of tartar
1 tsp baking soda
1/4 tsp salt
1/4 cup sugar
2 tsp cinnamon
1/2 tsp allspice
dash of nutmeg
Method:
Preheat oven to 375F.
1. Cream together the butter and 1 1/2 cup sugar.
2. Add egg or substitute and vanilla.
3. In separate bowl combine flour, cream of tartar, baking soda, and salt.
4. Mix butter mixture and flour mixture together.
5. In a small bowl combine 1/4 cup of sugar with the cinnamon, allspice, and nutmeg to create topping.
6. Portion out a cookie from the dough. Roll the dough ball in the topping mixture and then place on the parchment paper lined cookie sheet.
7. Bake for 10-11 minutes (based on small to medium sized cookie).
S’mores Brownies
Ingredients:
2 brownie batters prepared (I use
Bakers’ chocolate one bowl brownie recipe)
Graham Crackers (1 box, though you will not use it all)
Flat Marshmallows (made especially for s’mores) (1 package, though you will not use it all)
Hershey Chocolate Bars (1 six package of regular sized bars, though you will not use it all)
Method:
1. Follow layering instructions and photos above.
2. Bake at 350F for 1 hour to 1 hour & 20 minutes. A toothpick inserted should come out almost clean with a few moist crumbs.